
How to Build a Hockey Practice Plan: A Guide for Coaches
Learn how to build an effective hockey practice plan that maximizes ice time, develops skills, teaches hockey IQ, and helps players transfer what they learn into games.
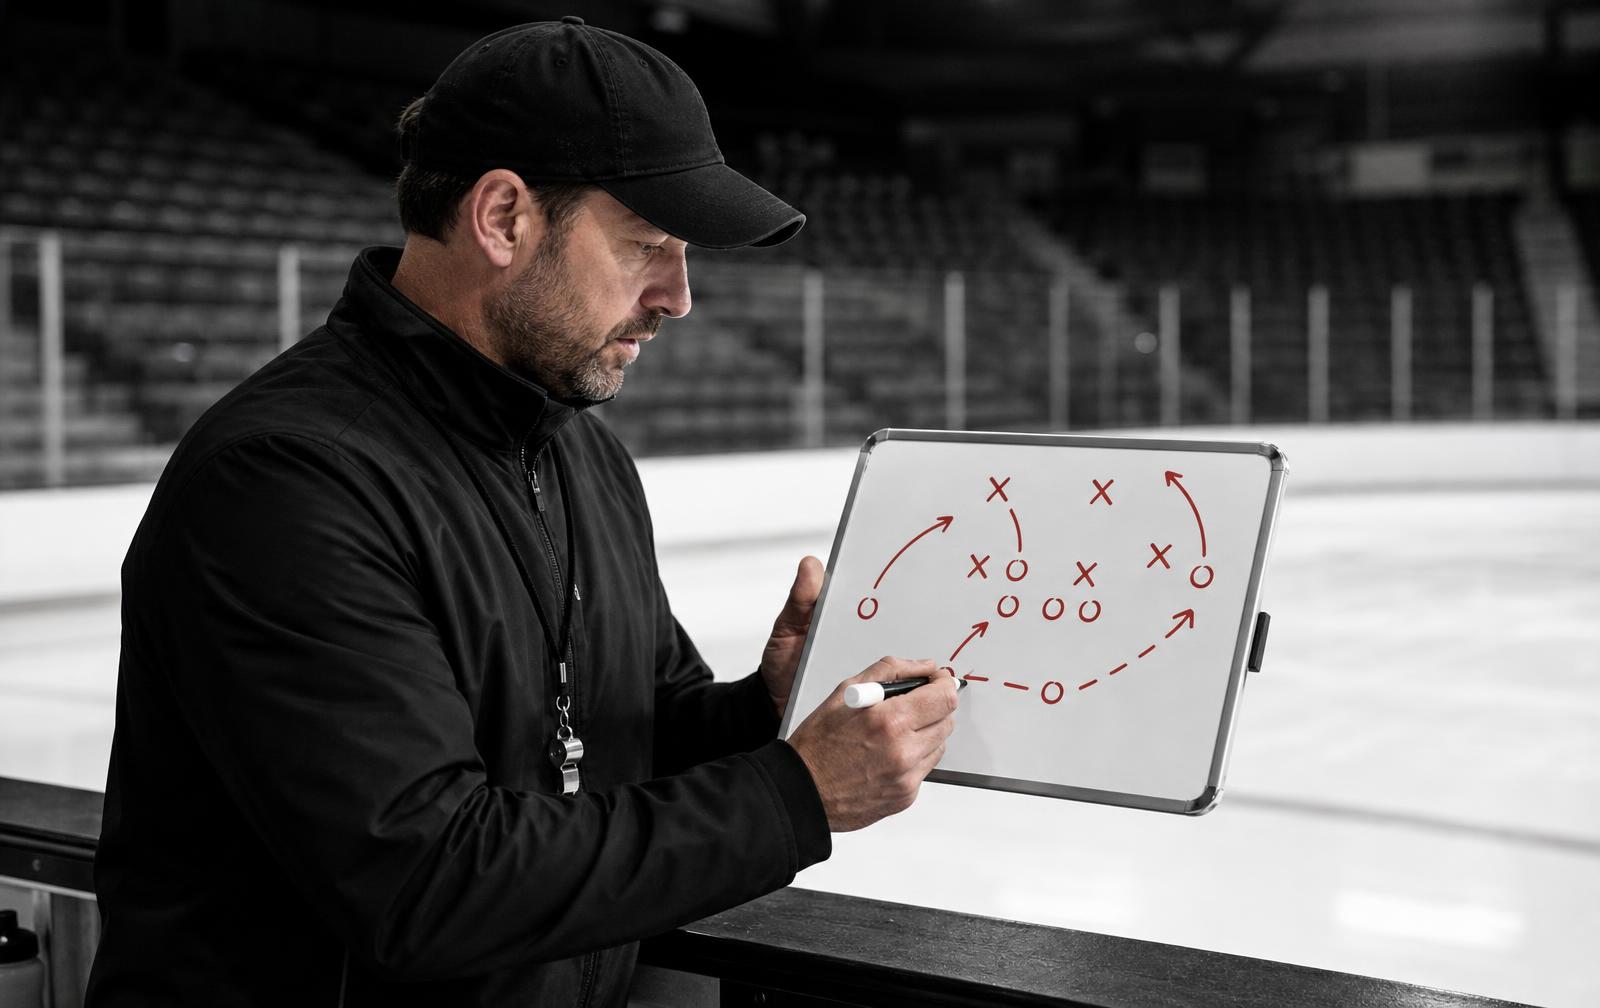
A good hockey practice shouldn't feel like a collection of random drills.
Every drill should have a purpose. Every transition should make sense. And by the end of practice, players should have improved something that will actually help them in a game.
That's why building an effective hockey practice plan starts long before players step onto the ice.
As coaches, we're working with limited ice time. Whether you have 50 minutes, an hour, or 90 minutes, there is only so much you can accomplish. The goal isn't to cram as many drills as possible into that window. It's to decide what your team needs, build the practice around those priorities, and create an environment where players are constantly learning and moving.
This guide breaks down how to build a hockey practice plan with intention, from choosing your objectives to organizing drills, teaching team concepts, and reviewing the practice afterward.
What Should a Hockey Practice Plan Include?
An effective hockey practice plan should give coaches a clear roadmap for the session while still allowing room to adjust.
At a minimum, your plan should include:
- The main objective of the practice
- Practice length
- Drills and activities
- Time allotted for each drill
- Drill setup and player organization
- Coaching points
- Team concepts or systems being taught
- Water breaks and transitions
- Equipment needed
The more organized you are before stepping on the ice, the less time you spend explaining setups, moving pucks, repositioning cones, or figuring out what comes next.
That matters because practice time is valuable.
1. Start With the Purpose of the Practice
Before choosing a single drill, answer one question:
What does my team need to get better at today?
This sounds simple, but it's one of the easiest things to lose sight of when planning practice.
Coaches often collect drills they like and then try to fit them into a practice. A better approach is to identify what you want to accomplish first and choose drills that support that objective.
Maybe your team struggled breaking the puck out under pressure in the previous game.
Maybe your forwards aren't providing enough puck support.
Maybe your defensemen need to improve their retrievals.
Maybe your team needs more work on offensive-zone movement, defensive-zone coverage, special teams, or simply competing harder for loose pucks.
Whatever it is, identify it first.
Then build the practice backward from that goal.
2. Don't Try to Fix Everything in One Practice
One of the biggest mistakes coaches can make is trying to address too many things at once.
A practice might include skating, passing, shooting, breakouts, forechecking, defensive-zone coverage, power play, penalty kill, battle drills, and conditioning.
Technically, you covered everything.
But how much did your players actually learn?
Players need repetition. They need opportunities to experience the same concept in different situations and make decisions for themselves.
Instead of trying to cover every part of hockey in one session, identify one or two major themes.
For example, a practice focused on puck support could progress from a simple passing activity into a small-area possession game and eventually into a breakout or offensive-zone situation where the same support principles appear naturally.
Now the practice feels connected.
The drills may change, but the lesson remains consistent.
3. Build Your Practice From Simple to Complex
One of the best ways to structure a hockey practice is to gradually increase the difficulty and decision-making required.
Early in practice, players might work on a specific skill or movement pattern with limited pressure.
Then introduce defenders, reads, or additional options.
Eventually, put players into a game-like situation where they have to recognize when and how to use what they just practiced.
A simple progression could look like this:
- Introduce the skill or concept.
- Practice it with limited pressure.
- Add a defender or decision.
- Increase the speed and pressure.
- Finish with a competitive or game-like situation.
This progression helps bridge the gap between performing a drill and actually applying the skill during a game.
That transfer should always be the goal.
4. Keep Players Moving
One of the quickest ways to lose the quality of a practice is having too many players standing in line.
If 15 players are waiting while two players perform a drill, you're losing valuable repetitions and engagement.
When building your hockey practice plan, look at each drill and ask:
- How many players are active?
- How long are the lines?
- Can this drill run from both ends?
- Can we use stations?
- Can multiple groups work simultaneously?
- Can I reduce the amount of explanation required?
This doesn't mean every drill needs to be chaotic or nonstop. Sometimes players need to watch a demonstration or listen to a coaching point.
But over the course of practice, we want as many meaningful repetitions as possible.
More touches. More decisions. More movement. Less standing around.
5. Use Drills That Teach Decisions, Not Just Patterns
Pattern drills have value. They can introduce movement, timing, passing sequences, and technical skills.
But hockey isn't played against cones.
Eventually, players need to make decisions.
Whenever possible, incorporate drills where players have to read pressure, identify space, communicate, support teammates, and react when the original option disappears.
For example, instead of always telling a player exactly where to pass, create a drill with two possible options and let the defender's positioning determine the correct choice.
Now the player isn't just executing a pattern.
They're learning to read the game.
This is one of the most important connections between practice design and hockey IQ. If developing smarter players is the goal, players need opportunities to think during practice.
Coaches can explore more teaching concepts and decision-making resources throughout the Overload Hockey learning library.
6. Connect Your Drills to Your Hockey Systems
Team systems shouldn't exist separately from practice.
If you're teaching a breakout, your drills should reinforce the habits required within that breakout.
If you're working on a forecheck, players should experience the pressure angles, support responsibilities, and reads they'll need during a game.
If you're teaching defensive-zone coverage, don't just show players where to stand on a whiteboard. Put them into situations where the puck moves, coverage changes, and they have to communicate and adjust.
Before adding a systems drill to your hockey practice plan, ask:
What principle are we actually trying to teach?
For a breakout, maybe it's puck support.
For a forecheck, maybe it's understanding the relationship between F1, F2, and F3.
For defensive-zone coverage, maybe it's protecting dangerous ice while maintaining pressure and support.
Players who understand the reason behind a system are much better equipped to adjust when the game doesn't happen exactly the way it looked on the whiteboard.
Coaches and players can explore common hockey systems inside Overload Hockey to better understand the positioning, responsibilities, reads, and concepts behind different team structures.
7. Use the Whiteboard Before You Get on the Ice
One of the easiest ways to waste practice time is spending several minutes drawing and explaining a complicated setup while players stand around the coach's board.
Whenever possible, introduce concepts before practice.
Show players the setup in the locker room. Send them the system beforehand. Walk through responsibilities before stepping onto the ice.
Then your on-ice explanation becomes a reminder rather than the first time players have seen the concept.
A good diagram should make it easy for players to understand:
- Where the drill starts
- Where players move
- Where the puck moves
- What the important reads are
- What happens after the first action
The Overload Hockey Whiteboard gives coaches a way to draw plays, drills, routes, and teaching concepts so they can organize ideas before practice and communicate them more clearly to players.
8. Include Competitive, Game-Like Situations
At some point, players need to compete.
Small-area games and competitive situations are valuable because they naturally create many of the reads players experience in games.
Players have to find space, protect the puck, support teammates, defend, transition between offense and defense, and make decisions under pressure.
The key is making sure the competitive game supports the objective of your practice.
If you're working on puck support, design a game that rewards support.
If you're working on quick transitions, create situations where possession changes frequently.
If you're teaching players to attack the middle of the ice, build rules or scoring incentives that encourage them to do it.
Don't add a small-area game just because it's fun.
Use the game to reinforce what you're teaching.
9. Plan Your Coaching Points Before Practice
Coaches should plan more than drills.
Plan what you're going to teach.
For every major drill, identify one or two coaching points you want players to understand.
Keep them simple.
If you're running a breakout drill, your coaching points might be:
- Scan before retrieving the puck.
- Get back quickly and create separation from pressure.
- Support underneath the puck.
- Communicate early.
You don't need to stop the drill every 30 seconds to explain everything you see.
Too much information can become just as ineffective as not coaching at all.
Know what matters most for that drill and coach those details.
10. Leave Room to Adjust
A practice plan is a roadmap, not a contract.
Sometimes a drill isn't working.
Sometimes players understand a concept faster than expected.
Sometimes they need another five minutes.
Sometimes your perfect 60-minute practice plan gets thrown off before the Zamboni door closes.
That's coaching.
Don't become so committed to completing every drill on your plan that you miss what your players actually need.
If a drill is producing the exact learning environment you want, it may be worth staying with it longer.
If players clearly understand the concept and the drill has lost its purpose, move on.
The plan should help you coach the practice. It shouldn't prevent you from coaching what's happening in front of you.
A Simple 60-Minute Hockey Practice Plan
There is no perfect practice structure for every team, age, or level. But a basic 60-minute practice might look something like this:
- 0–10 minutes: Warm-up with puck touches, skating, passing, and movement.
- 10–20 minutes: Skill development connected to the day's theme.
- 20–35 minutes: Progress the skill into a drill with pressure or decision-making.
- 35–45 minutes: Team concept or systems work.
- 45–55 minutes: Competitive small-area game or game-like situation.
- 55–60 minutes: Situational work, competition, special teams, or a short team finish.
This isn't a formula you need to follow every practice.
Your team's age, skill level, schedule, recent games, upcoming opponent, available ice, number of players, and current development needs should all influence how you use your time.
The important part is that the practice has a purpose and a logical progression.
Build Practices Around What You're Seeing in Games
Your games should help tell you what to practice.
When watching your team, don't just focus on goals for and goals against. Look for patterns.
Are your defensemen struggling against pressure on retrievals?
Are your forwards leaving the zone too early?
Is F3 consistently getting caught below the puck?
Are players having trouble finding the next option on breakouts?
Are you losing possession because players aren't supporting each other?
Those observations can become practice objectives.
Instead of telling players, "We need to be better on breakouts," identify the specific problem and build a practice that gives them repeated opportunities to solve it.
That's where practice planning becomes more than organization.
It becomes player development.
Teach the Why, Not Just the Drill
Players should understand how a drill connects to the game.
Before starting an activity, give them context.
Instead of simply saying, "We're doing this breakout drill," explain what you're trying to improve.
Maybe the focus is beating the first forechecker.
Maybe it's giving the puck carrier multiple options.
Maybe it's teaching the weak-side winger when to stretch and when to provide support.
When players understand why they're doing something, they can start recognizing the same situation during a game.
That's a major part of developing hockey IQ.
If you're working specifically on helping players see and process the game better, read our guide on how to improve hockey IQ.
Review the Practice Afterward
Your practice isn't finished when the players leave the ice.
Take a few minutes afterward and evaluate it.
Ask yourself:
- Did we accomplish the main objective?
- Which drill worked best?
- Where were players confused?
- Did we spend too much time explaining?
- Were players getting enough repetitions?
- Did the drills create the decisions we wanted?
- What needs to carry over into the next practice?
This is how your practice planning improves over time.
You'll also start building a library of drills and practice structures that you know work well with your team.
Frequently Asked Questions About Hockey Practice Plans
How do you make a hockey practice plan?
Start by identifying one or two objectives for the practice. Then choose drills that support those objectives, organize them in a logical progression, assign a time to each activity, identify your coaching points, and plan transitions between drills. The goal is to create a connected practice rather than simply filling time with unrelated drills.
How long should a hockey drill last in practice?
There isn't one correct length for every drill. The appropriate amount of time depends on the age of the players, complexity of the activity, number of repetitions, and what you're trying to teach. A drill should last long enough for players to learn and get meaningful repetitions, but not so long that the pace and quality disappear.
How many drills should be in a 60-minute hockey practice?
The number of drills matters less than the quality of the repetitions. For many practices, a smaller number of well-designed activities with logical progressions can be more effective than constantly switching between drills. Every transition also costs ice time, so coaches should avoid changing drills simply for the sake of variety.
What makes a good hockey practice?
A good hockey practice has a clear purpose, keeps players engaged, provides meaningful repetitions, includes decision-making, connects drills to game situations, and gives players opportunities to compete. Players should understand not only what they're doing, but why they're doing it.
Should hockey practices include systems work?
Yes, when appropriate for the team's age and development level. Systems work can help players understand team structure, but coaches should teach the principles and reads behind the system rather than asking players to simply memorize routes. Overload's hockey systems library is designed to help coaches and players understand those responsibilities and the reasoning behind them.
Build Better Hockey Practices With Overload Hockey
The best hockey practice plan isn't necessarily the one with the most creative drills.
It's the one that helps your players improve.
Start with what your team needs. Build around a clear objective. Create progressions. Keep players moving. Add pressure and decision-making. Connect your drills to game situations. And make sure players understand the why behind what you're teaching.
Over time, your practices should start to feel connected to the way you want your team to play.
That's exactly what we're building Overload Hockey to help coaches do.
With Overload, coaches can use the Practice Planner to organize practices, explore the Drill Library for teaching ideas, use the Whiteboard to create custom drills and diagrams, and connect practice concepts to the Systems Library so players can better understand what they're being asked to do.
Don't just run drills. Build practices that teach players how to play.